Easy DIY Floating Shelves on a Budget
Easy DIY Floating Shelves on a Budget 
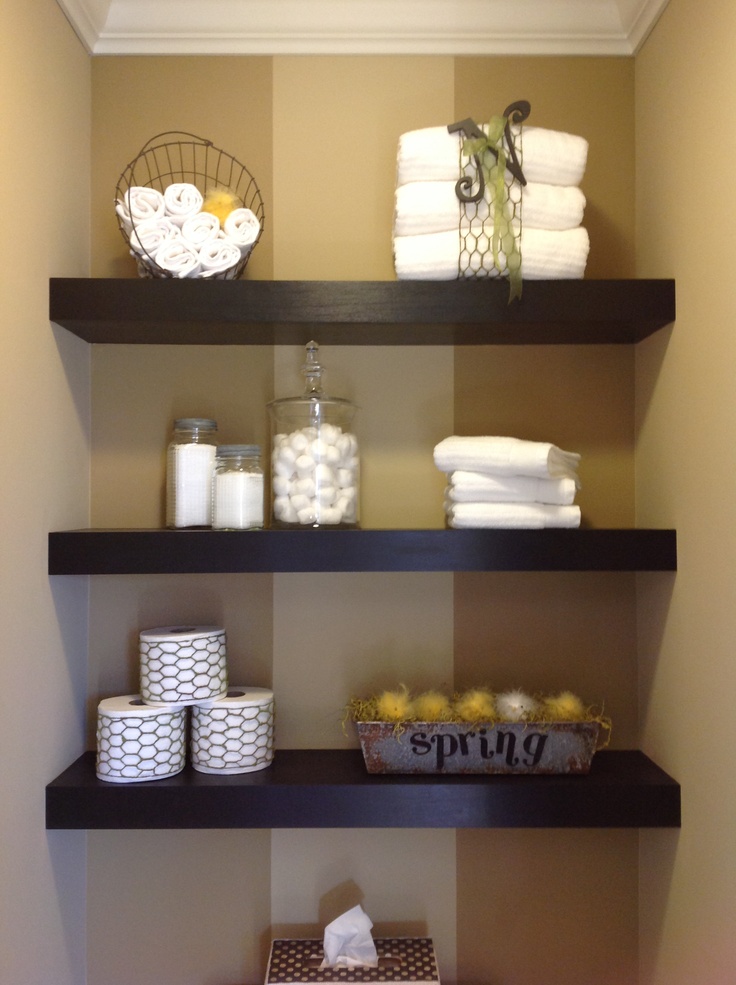
Holiday shopping is here, and you just had to wipe the drool of your face from admiring the Floating Shelve selection. The shelf was the only thing you admired because they price tag wasn’t so appealing. Here is your chance to DIY them yourself, save money and impress people with your handyman or woman, skills. It’s easy, fast and you will be more proud to show off these shelves than you will be to have admitted to spending $60 a shelf from the store. You will spend about $15 per shelf if you DIY this project! That is a killer savings if you ask me.
It’s as easy as 1.2.3
1. Build frames and attach to wall
2. Build frame enclosures
3. Paint or Stain your Shelves
Step 1: What you will need to do first is build your frame for each shelf before you install. This frame will consist of 4 pieces of Pine or Whitewood Board if you were to make them 32inches long; the piece that is going to be attached to the wall will need to be measured to the length where you will want these shelves to be installed or your desired length of choice. The three other pieces will act as your shelf supports, and be cut to the desired depth of the shelf, and attached to the 4th piece.
Approximately you want your supports every 10inches to make sure your shelf frame is sturdy.
Once you have your frame built, you will now move on to attaching these bad boys to the wall. Attaching these frames to your wall will require a stud finder and wood screws. Run your stud finder along the wall, once it beeps indicating a stud you will need to mark where your studs stand, now hold your frame to the wall and mark on your frame where the studs are. Once you have this done you need to predrill your holes, before attaching to the wall. Drill your frame directly into the wall and stud using the holes you predrilled.
Step 2: Measure a piece of ¼ inch plywood to the length and depth of the shelf frame. Once you have measured your plywood, attach the plywood to the bottom of the shelf. You can attach this piece using Wood glue and Brad nails. Plywood can be used for this piece since you will not rely on this side of the shelf for support. In other words you aren’t going to set anything on the bottom of the shelf so using wood that is thin is acceptable. The top piece you will want to attach in the same manner as the bottom, a piece of 1X10 whitewood board, and each side will be 1X4 whitewood board all measured to size. Now that you have the frame enclosed your shelf should look like a shelf.
Step 3: Paint or Stain your shelves. Be sure to tape off the wall before starting this final step, unless you want paint on your walls as well as the shelves.
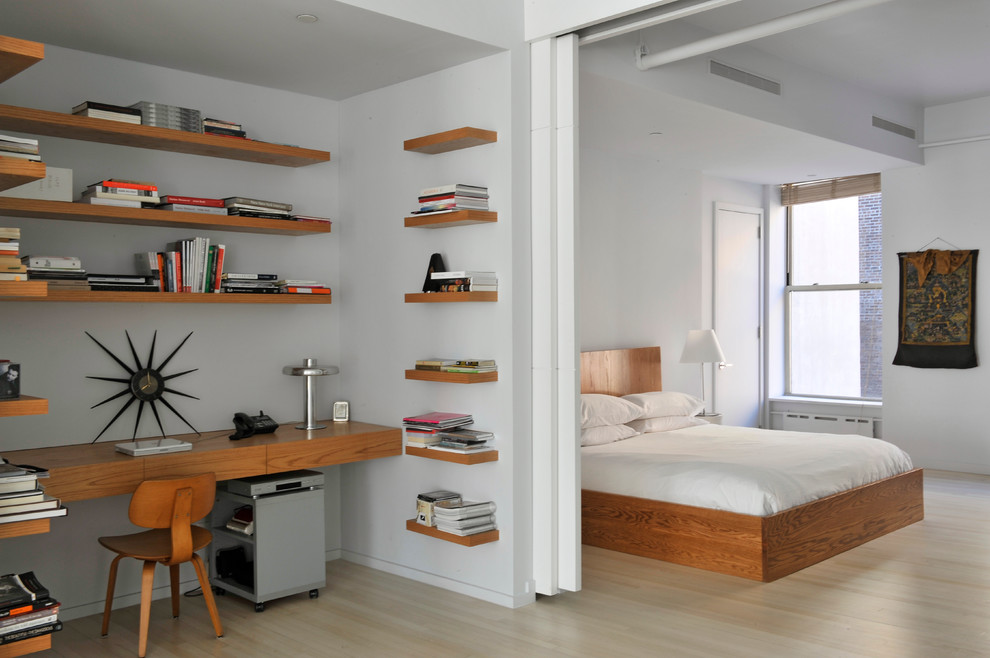
Floating shelves are so versatile you can add them to any room.


